Getting Started
Table of contents
This documentation is only for Windows.
Setting up Python in Visual Studio Code
If your computer doesn’t have Visual Studio Code, install it and follow these steps. In the installation process of Visual Studio Code, don’t change anything and press next until it is installed.
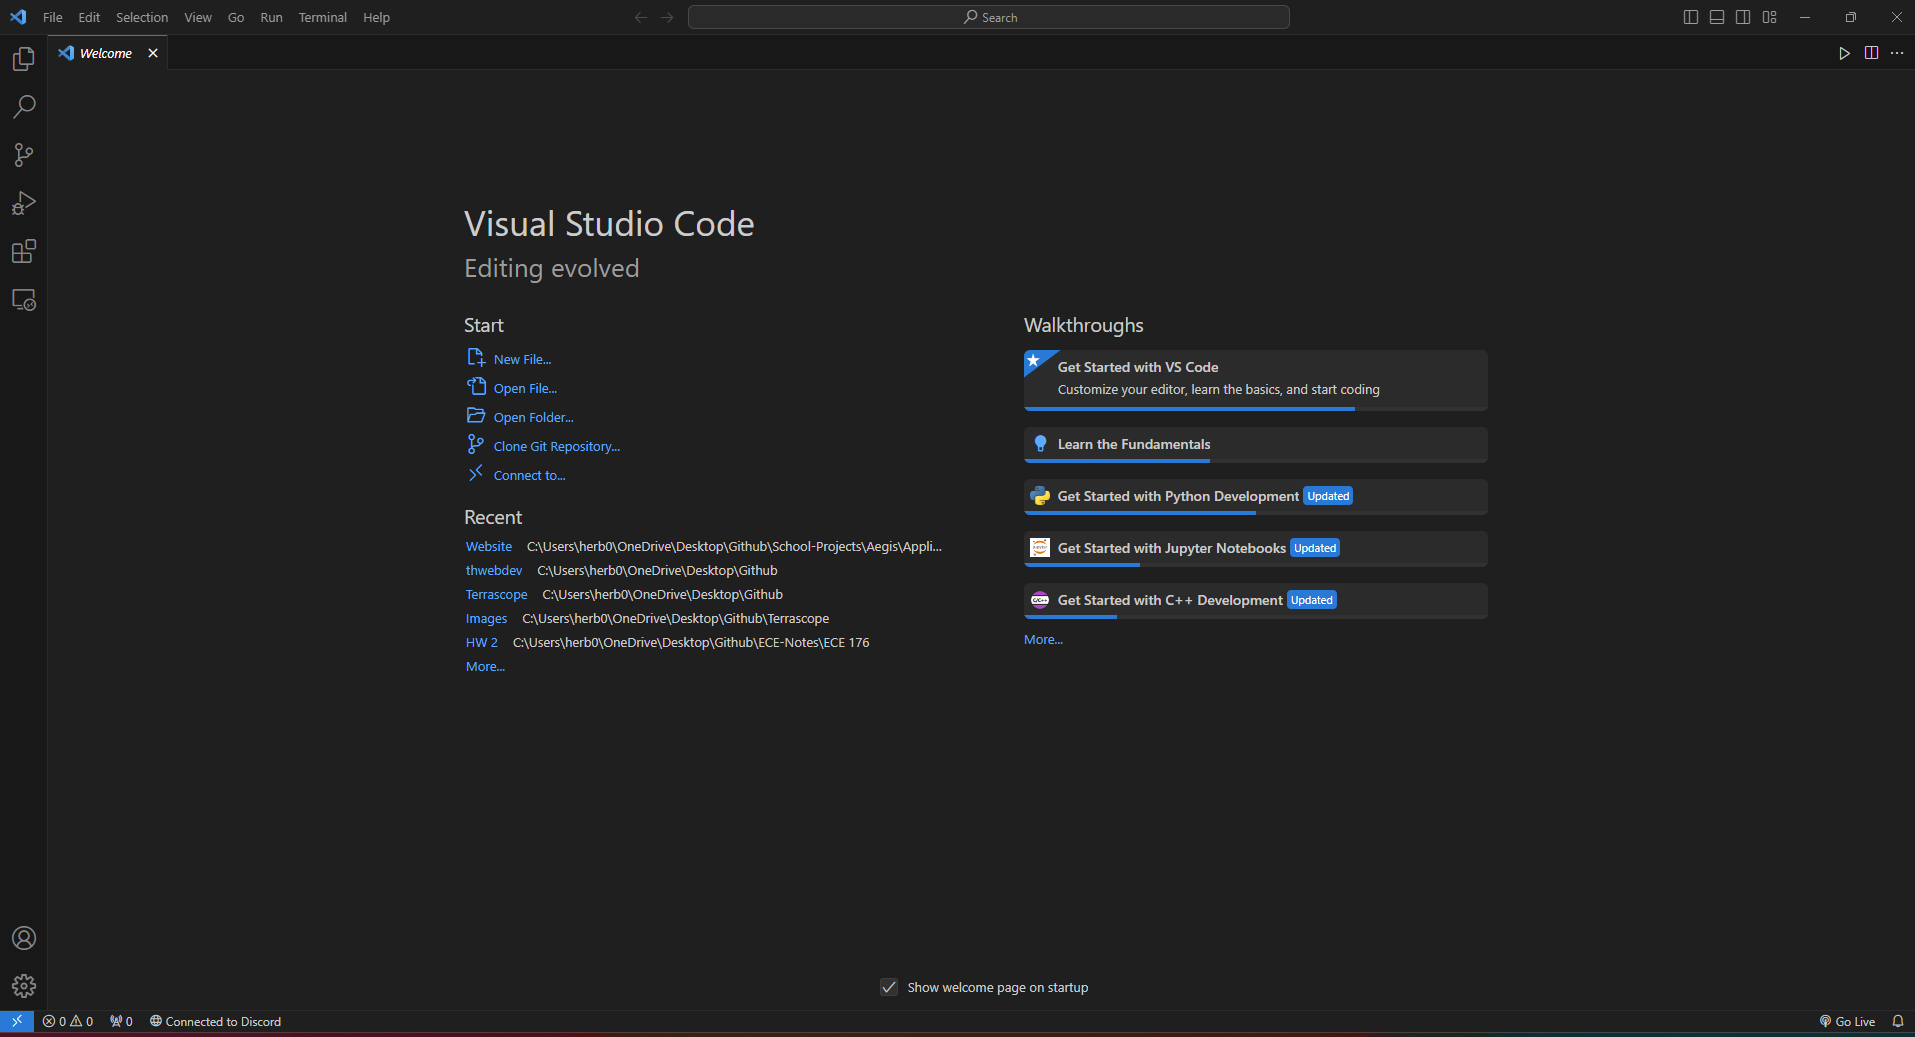
Once it is installed, it will look like this. 
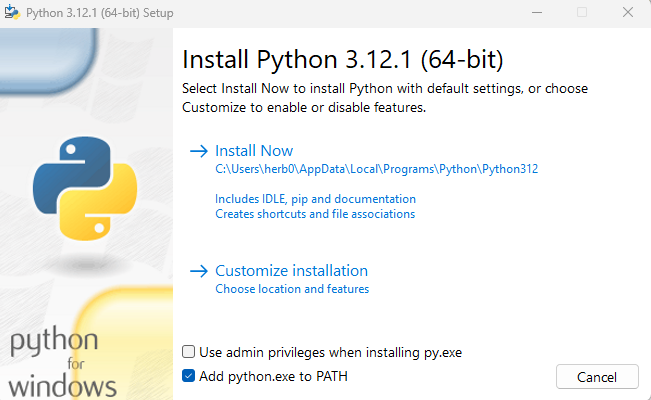
Head over to the Python Website and download the latest version. Once you get this pop up, make sure to check the second box of Add python.exe to PATH

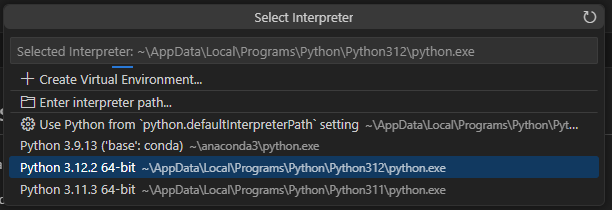
After you’ve installed Python, you have to set your interpreter so that it uses the installed Python. To do so, press CTRL + SHIFT + P inside of your visual studio code and type Python: Select Interpreter and press enter. You should see an option to select the interpreter you just installed. Don’t worry about the other options, you should only see one.

You’ve just finished setting up your environment!
Dependencies
You won’t be able to install any of these dependencies if you do not have your Python set up.
In order to access the framework we’ll be using, you must install the libraries first. To do so, go into your Visual Studio Code and make sure that your interpreter is set as the one you just installed. Press Ctrl + Shift + P and type in Terminal: Create New Terminal. Inside of this terminal, type these two commands separately.
pip install fastapi
pip install uvicorn
Once these are installed, you are all set up to start creating your website.
Liveshare Feature (Extra)
There is an extension on visual studio code that allows you to code in real-time with your team members. In order to do so, follow this tutorial.